Fresh Applications provides an easy way to apply for positions online.
1. Registering
When you try to select your first position, you'll be required to sign in or sign up.
To register for Fresh Applications, you can click the 'Sign up' link on the Sign in page. It is very important that you enter accurate information, as the email address you provide is how you will be contacted. After filling out the form, you'll be expected to confirm your email address.
2. Selecting Positions
After you've logged in with your Fresh Applications account, you're ready to choose the positions you'd like to apply for.
You can sort/search/filter by location to find the positions that are right for you. Clicking on the positions name will reveal more information about the position. You can apply for as many positions as you'd like in as many locations as you'd like. The vacant column shows the positions that are currently unfilled, but you're welcome to apply for any of the positions listed on the page.
Once you've found the positions you'd like to apply for, click the 'Apply' buttons in the far right column to add them to your selected positions. Alternatively, you can click the name of the position and click 'Add'. You'll be asked if you've ever worked in that position, to which you need to respond either 'Yes' or 'No'.
If you want to remove a position, click the 'Remove' buttons in the far right column.
When you're satisfied with the positions you've selected, you can click the 'Apply for Positions' button to get started with your application.
3. Creating Your Application
There are 7 steps to an application:
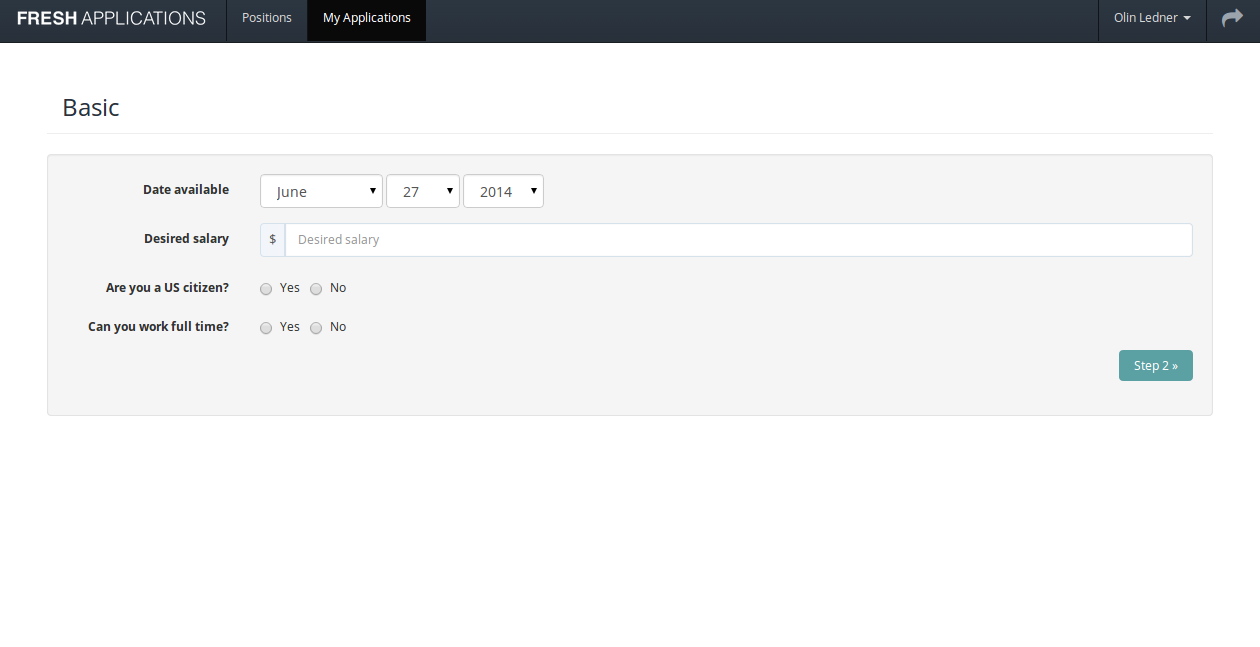
- Basic Information
- Availability
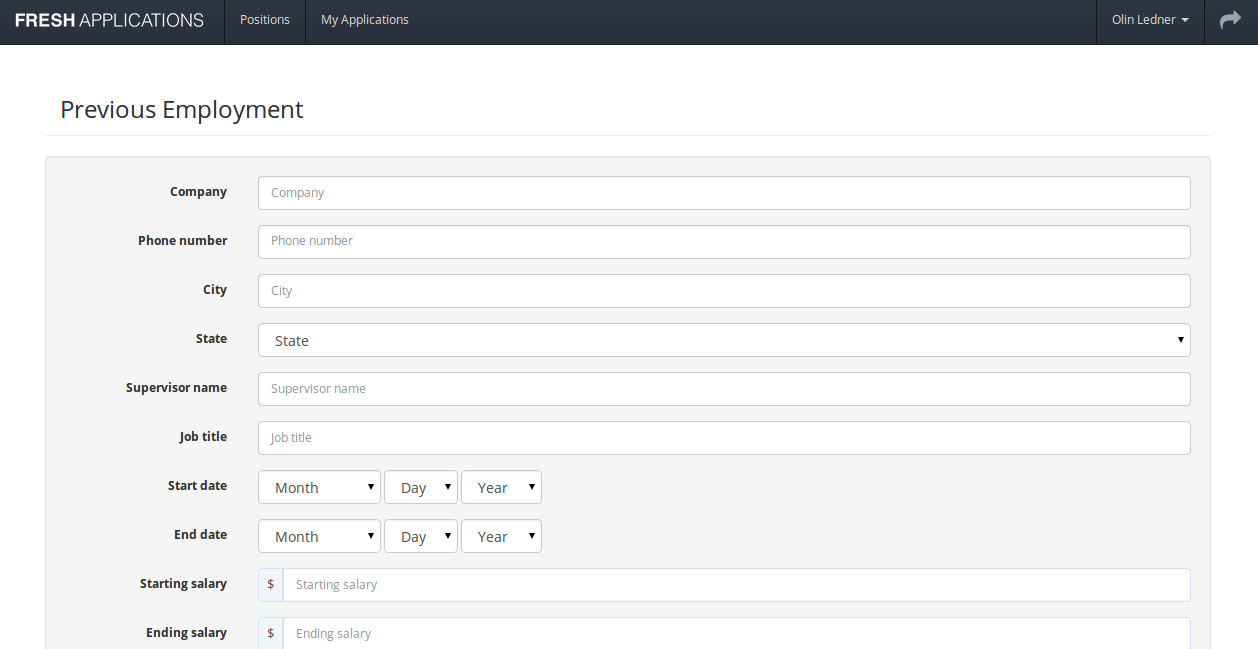
- Previous Employment
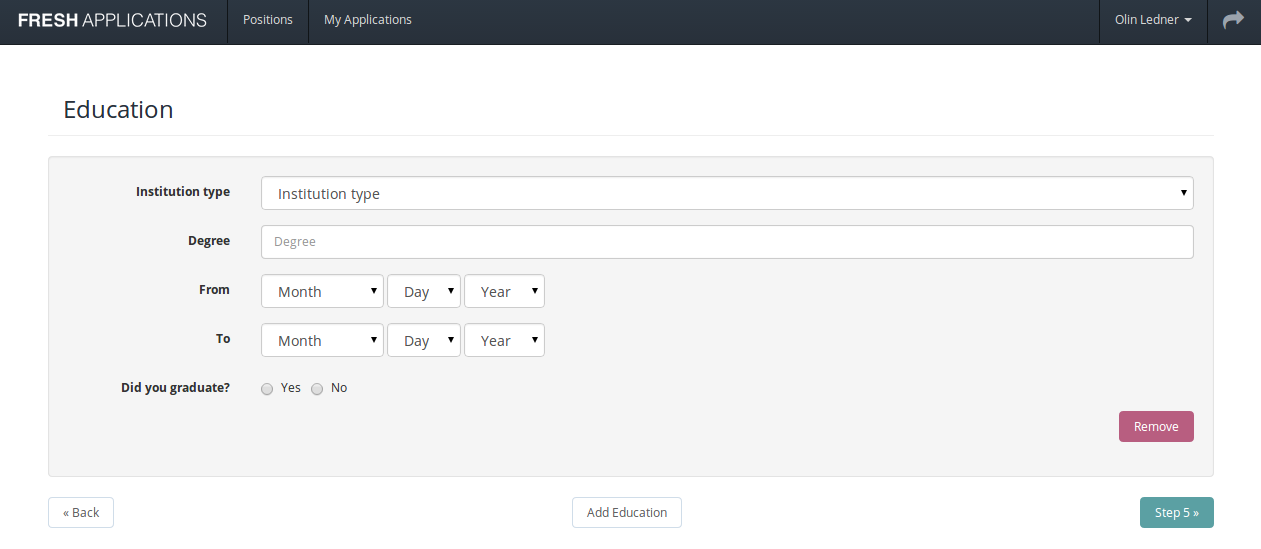
- Education
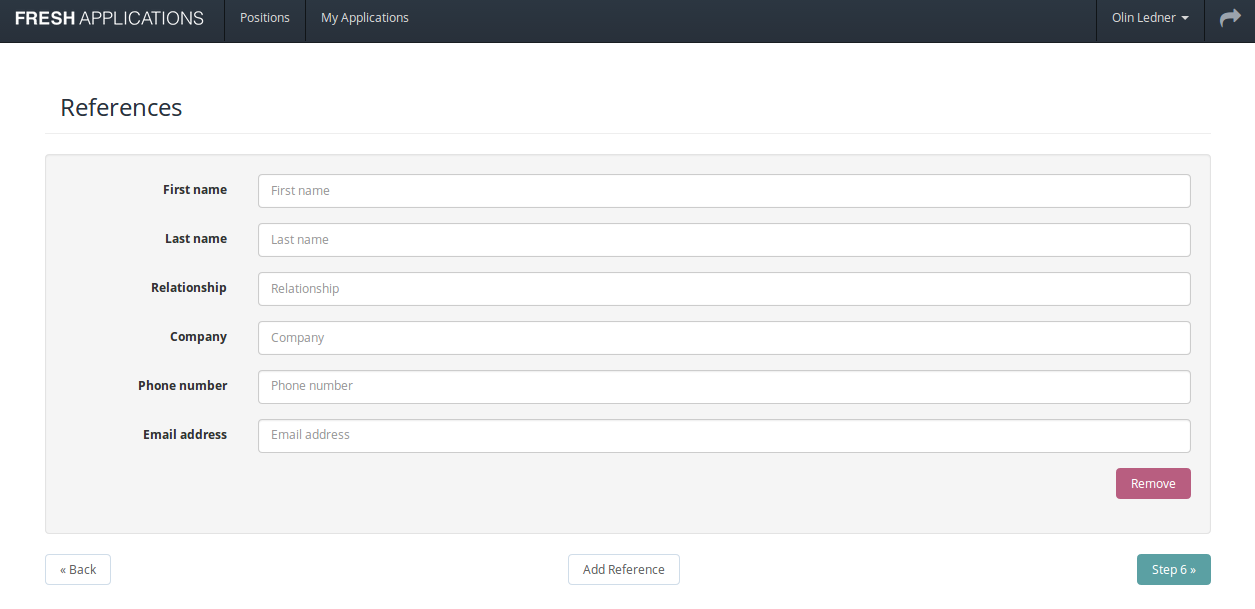
- References
- Military Service
- Additional Information
Go through the steps filling in the fields as completely as you can. You can advance to the next step by clicking the 'Next' button in the bottom right of the page. To go backward, click the 'Back' button in the bottom left.
The previous employment, education, references, and military services steps ask that you provide multiple entries. The 'Add More' buttons are located in the bottom center of the page between the 'Back' and 'Next' buttons. Clicking the button will add another set of fields where you can enter another entry.
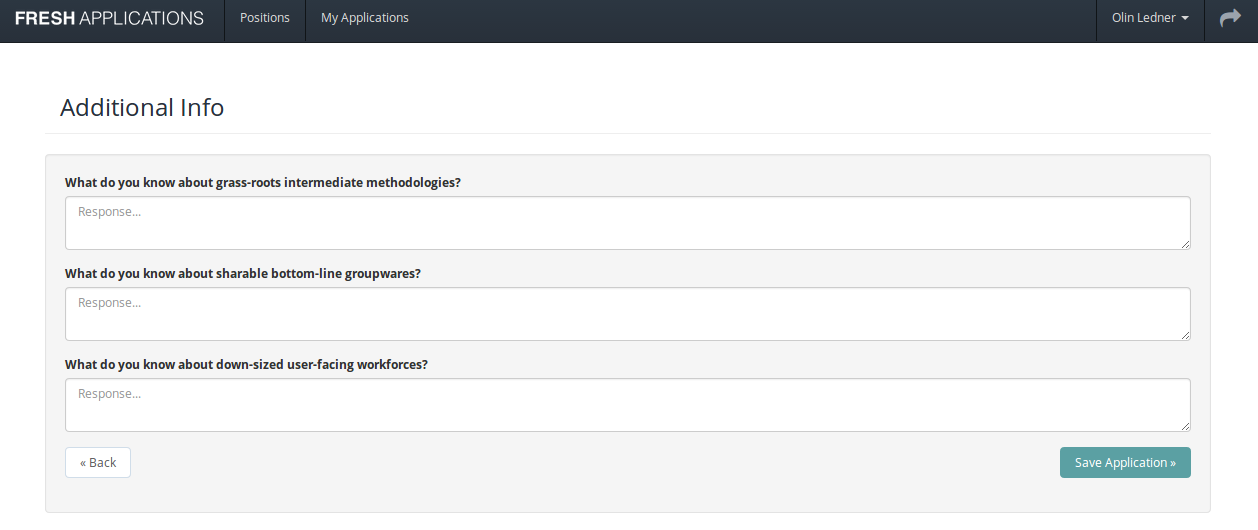
The Additional Information step has open ended questions. Respond to them in a complete and concise manner.
When you've finished filling out your application, click the 'Save Application' button on the Additional Information page. Please note that doing so will not submit your application. See Submitting Your Application.


4. Modifying Your Application
When you've finished filling out your application, note that it will not be submitted until you click the 'Submit Application' button.
Until you submit your application, you're free to edit the application as you see fit. Simply click the tab of the section you want to edit, then click the 'Edit' button in the top right corner.
5. Submitting Your Application
When you're ready to submit your application for review by a store manager, click the 'Submit Application' button in the top right corner of your application.
Your application will remain active for 60 days. At which time, you will have the option to resubmit it.
6. Resubmitting Your Application
After you've submitted your application, it still isn't to late to make changes. To change your application after you've submitted it, click the 'Modify for Resubmission' button in the top right corner of your application.
Once you click this button, 'Edit' buttons will reappear in the top right corners of each section's tab. Click them to make a change to your application.
When you're satisfied with your changes, click the 'Resubmit Application' button. Note that resubmitting your application doesn't increase the visibility of your application, nor will manager see multiple applications from you. Only your latest application will be visible.
7. Reviewing Applications
To review applications, click the 'Applications' dropdown in the left navigation. Under the dropdown, you'll find an entry labeled 'Applications'.
If you click the 'Applications' link, you'll be taken to a page that lists applications. Click the name of an applicant to view an application in greater detail.
In the top right corner of the application, you'll see a request interview button. Clicking this button will open up your default email client with a pre-populated message. You will need to modify the email template by choosing an interview date.
Please note that this section is only relevant to managers.
8. Creating Positions
Under the 'Applications' dropdown in the left sidebar, click the entry labeled 'Offered Positions'. This page lists the positions for your store that applicants can apply for.
You can create a new position by clicking the 'New Position' button. To edit an existing position, click the position's name and click 'Edit'. You can edit the position description, change the title, mark it as vacant, or hide it from applicants.
Please note that this section is only relevant to managers.
9. Managing Concept Questions
Concept questions are the questions that appear in the Additional Information step of the application.
To create new concept question, click the 'Concept Questions' link under the Applications dropdown. Upon arriving at the page, click the 'New Application' link. Simply enter your question into the text field and click 'Submit'. The question will now appear on new applications.
To edit a question, click the edit button next to a question. If you don't want to show the question on future applications, click the 'Check to remove this question from future applications' checkbox.
Please note that this section is only relevant to managers.