This page pertains to the basics of using Fresh Schedules and setting up your account.
1. Setting Your Password
You will receive an email about joining Fresh Schedules. In the email, there will be a link that says "Accept Invitation".
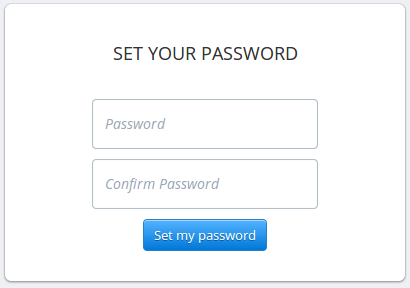
When you click that link you will be brought to the set password page, where you will see two text boxes.
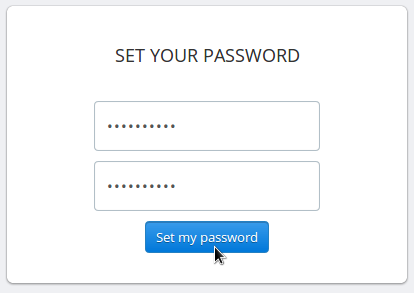
Insert the password of your choosing into both text boxes. Your password must be a minimum of 8 characters. It is recommended that you use a combination of lower-case letters, upper-case letters, symbols and numbers.
When you are finished, click the "Set my password" button, and you will be logged into Fresh Schedules automatically.
2. Logging In
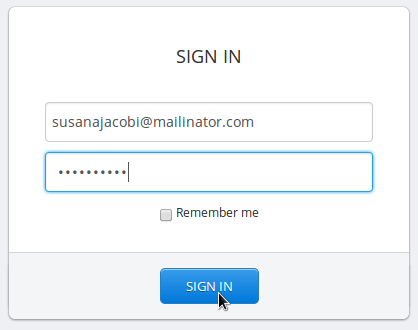
To login to Fresh Schedules, go to freshschedules.co. Upon arrival, you will be prompted for your email address and your password.
Enter your email address into the first field, and enter your password into the second.
If you don't remember your password, see Forgot Password.
3. Logging Out
4. Forgot Password
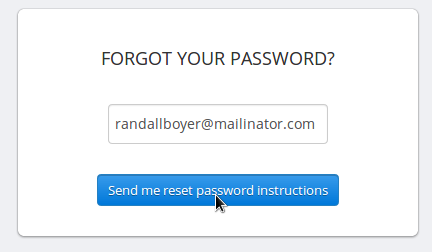
If you have forgotten your password, go to the forgot password page.
Insert your email address that your account is associated with into the text box, and click the submit button.
Within a few minutes, you will receive an email with instructions for reassigning your password. The email will contain a link that says "Change My Password".
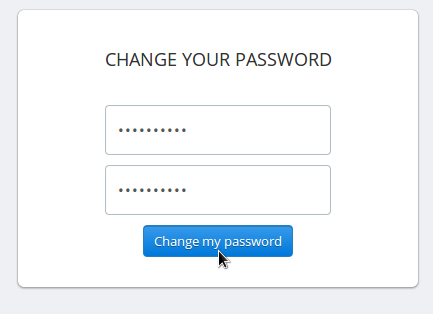
Click the link, and you will arrive at the change password page. Choose a new password and insert it into the two text boxes. Your password must be a minimum of 8 characters.
When you are finished, click "Change my password" and you will be logged into Fresh Schedules.
5. Switching Store Locations
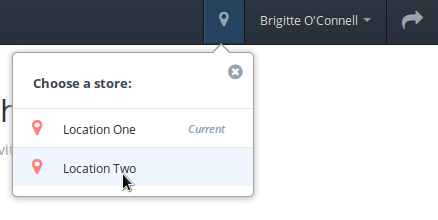
If you are employeed in more than one store, you have the ability to switch locations. The Switch Locations menu comes up when you click the icon to the left of your name.
The menu will list the locations that you are employeed in, and your current location will be denoted with Current. When you click a different location, Fresh Schedules will now show you the relevant information for that store.
